Placing an Alternate Airway
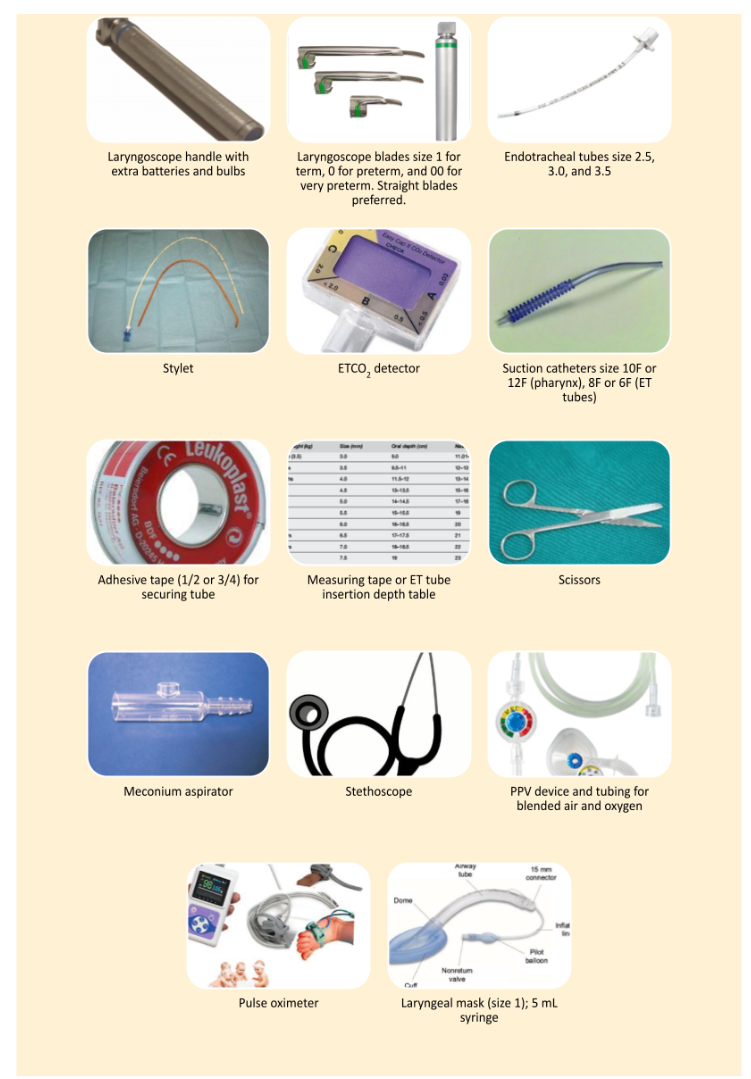
The medical tools essential for endotracheal intubation and laryngeal mask insertion must always be within reach of the resuscitation team. The provider in charge of preparing the materials should anticipate the need for alternative airway interventions. The delivery room, nursery, and the emergency department should have the following required tools on hand at all times:

Equipment Checklist for Alternative Airway Insertion
When inserting the airway, healthcare providers must maintain aseptic technique throughout the procedure to prevent infection. If the tools for intubation are reusable rather than disposable, they must be sterilized and stored in such a way that prevents contamination.
An ECG monitor should be placed once an alternative airway is deemed necessary.
Endotracheal Intubation – Preparation
Endotracheal Tube Selection and Stylet Use
Endotracheal tubes are made of polyvinyl chloride and have a consistent diameter throughout the length of the tube. Uncuffed ET tubes are preferred for use in neonates. The ET tube has markings called the vocal cord guide, and the tube should be inserted to a depth that places those markings just past the vocal folds. Since babies vary significantly in size, the vocal cord markings on the ET tube are only an approximation of optimal insertion depth.
The baby’s weight or gestational age guides the team to the appropriate size ET tube.

Secretions can obstruct a tube that is too small and increase ventilatory resistance. A large tube may cause trauma in the airway.
Some providers choose to use a stylet to preserve the shape of the ET tube while inserting it. It needs to be inserted the entire length of the tube without protruding past the inferior tip. The stylet can be bent at the top or secured with a plug to prevent it from going past the inferior tip and harming the baby’s airway.
Preparing the Laryngoscope
The laryngoscope needs to be assembled and tested in advance of each delivery. The laryngoscope has a blade and a handle. A light source on the tip of the blade is usually powered by batteries inside the handle. The proper blade size depends on the gestational age and weight of the infant.
The light on the blade activates when it is attached to the handle and placed into the open position. The bulb should emit a bright light. If it is dim or flickering, then the bulb may be loose. Simply screwing the bulb tighter into place is often enough to resolve the problem. If tightening the bulb fails to help, or if the light does not come on, the batteries in the handle may be failing and should be replaced.
Suction Equipment
The team may have access to vacuum suction built into the wall or may need to use a portable suction machine. If using portable suction, the team should ensure it is plugged into an electrical outlet. Suction should be completely set up and ready for use. The team should test it before the baby is delivered.
An appropriate suction pressure for a neonate is 80–100 mm Hg. The suction machine should be tested by occluding the tubing and confirming the measured pressure is in the 80–100 mm Hg range.
When suctioning before placing an alternate airway, the team uses a 10F catheter to remove secretions from the mouth and pharynx. Once the baby is intubated, the team uses a narrower suction catheter when removing secretions from the endotracheal tube. The largest sized catheter that does not completely occlude the ET tube should be selected.
A 5F or 6F can be used when suctioning a 2.5 or 3.0 mm ID ET tube. A 6F catheter is used to suction through a 3.0 ET tube, and a 6F or 8F catheter is appropriate when suctioning through a 3.5 ET tube.
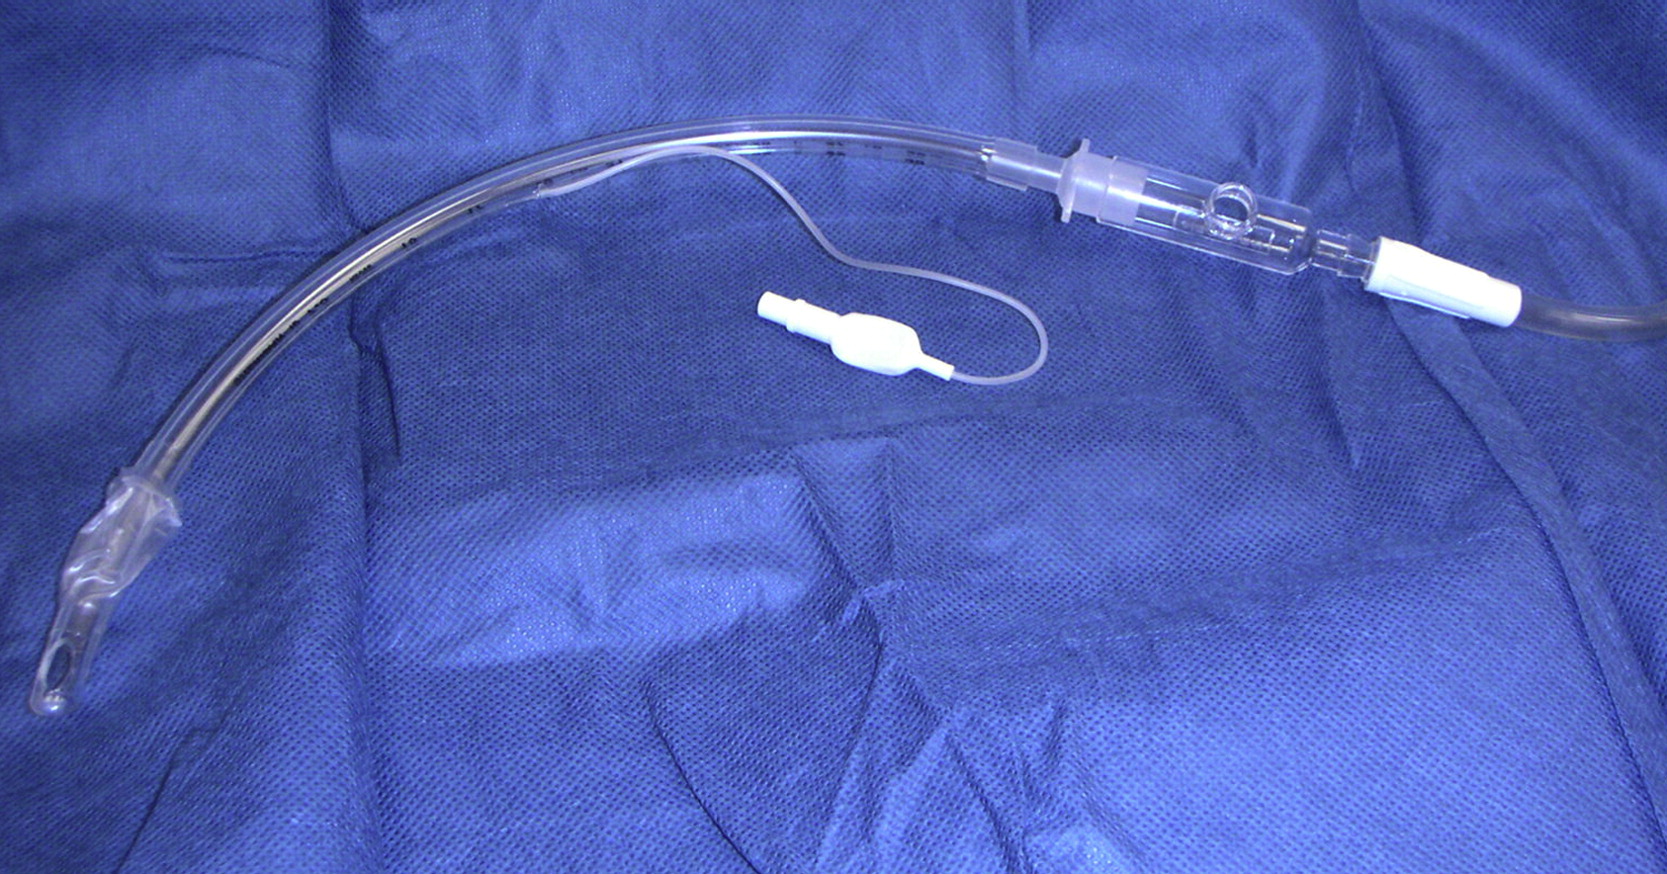
If the baby has thick meconium, the team may choose to use a meconium aspirator. One side of the meconium aspirator is attached to the tip of the endotracheal tube. Suction tubing is connected to the other side of the meconium aspirator. Suction is applied to the entire tube, and the ET tube is removed as if it were a large suction catheter. The baby then requires reintubation. Routine use of the meconium aspirator with repeated intubations is no longer recommended.

Meconium aspirator.8
Prepare the PPV Device
Once an alternate airway is in place, the baby can receive PPV via a T-piece resuscitator, flow-inflating bag, or self-inflating bag. The mask used for initial PPV is removed, and the device attaches directly to the tip of the ET tube or LMA.
The Process of Intubation
At least one member of the neonatal resuscitation team must be experienced in intubation as it is a learned skill and requires regular practice. Team members who are not trained to intubate must still know the steps to effectively assist with the intubation attempt.
- The person intubating selects the proper blade size, assembles, and tests the laryngoscope.
- The person intubating chooses the correct size endotracheal tube.
- The bed is adjusted to a comfortable height for the person intubating.
- The person intubating holds the laryngoscope in their left hand and stabilizes the baby’s head with the right hand. Another team member may also stabilize the baby’s head.
- The person intubating gently opens the baby’s mouth with their right index finger.
- The laryngoscope blade is placed into the right side of the mouth and slid over the right side of the baby’s tongue.
- The person intubating uses the blade to push the baby’s tongue toward the left side of the mouth and then advances the blade until they see that the tip of the blade is in the vallecula.
- The person intubating lifts the laryngoscope toward where the base of the handle is pointing and exposes the glottis.
- The blade is manipulated to lift the epiglottis gently.
- The person intubating takes care not to rock the handle and cause trauma to the baby’s lips and gums.
- If the operator is having difficulty exposing the glottis and vocal cords, they adjust the blade until these structures come into view. Withdrawing the blade and slowly re-inserting it may help the person intubating bring the vocal cords into view.
- If the blade is inserted too deep, the esophagus will be exposed.
- If it is too shallow, the person intubating will only be able to visualize the pharynx and the tongue.
- Suctioning secretions can help the person intubating get a clear view of the anatomical landmarks. A size 10F or 12F catheter should be used to suction the mouth and pharynx.
- Gentle pressure on the thyroid or cricoid cartilage by a second person may help expose the glottis. This intervention is known as the thyroid or cricoid pressure maneuver.
- Once the vocal cords are visible, the endotracheal tube is ready to be inserted.
- While holding the laryngoscope steady, the person intubating asks for the ET tube. The tube is inserted along the right side of the mouth with the tube’s concave curve at the horizontal plane.
- Inserting the tube along the groove of the laryngoscope blade obstructs the clinician’s view of the vocal cords and is not a recommended technique.
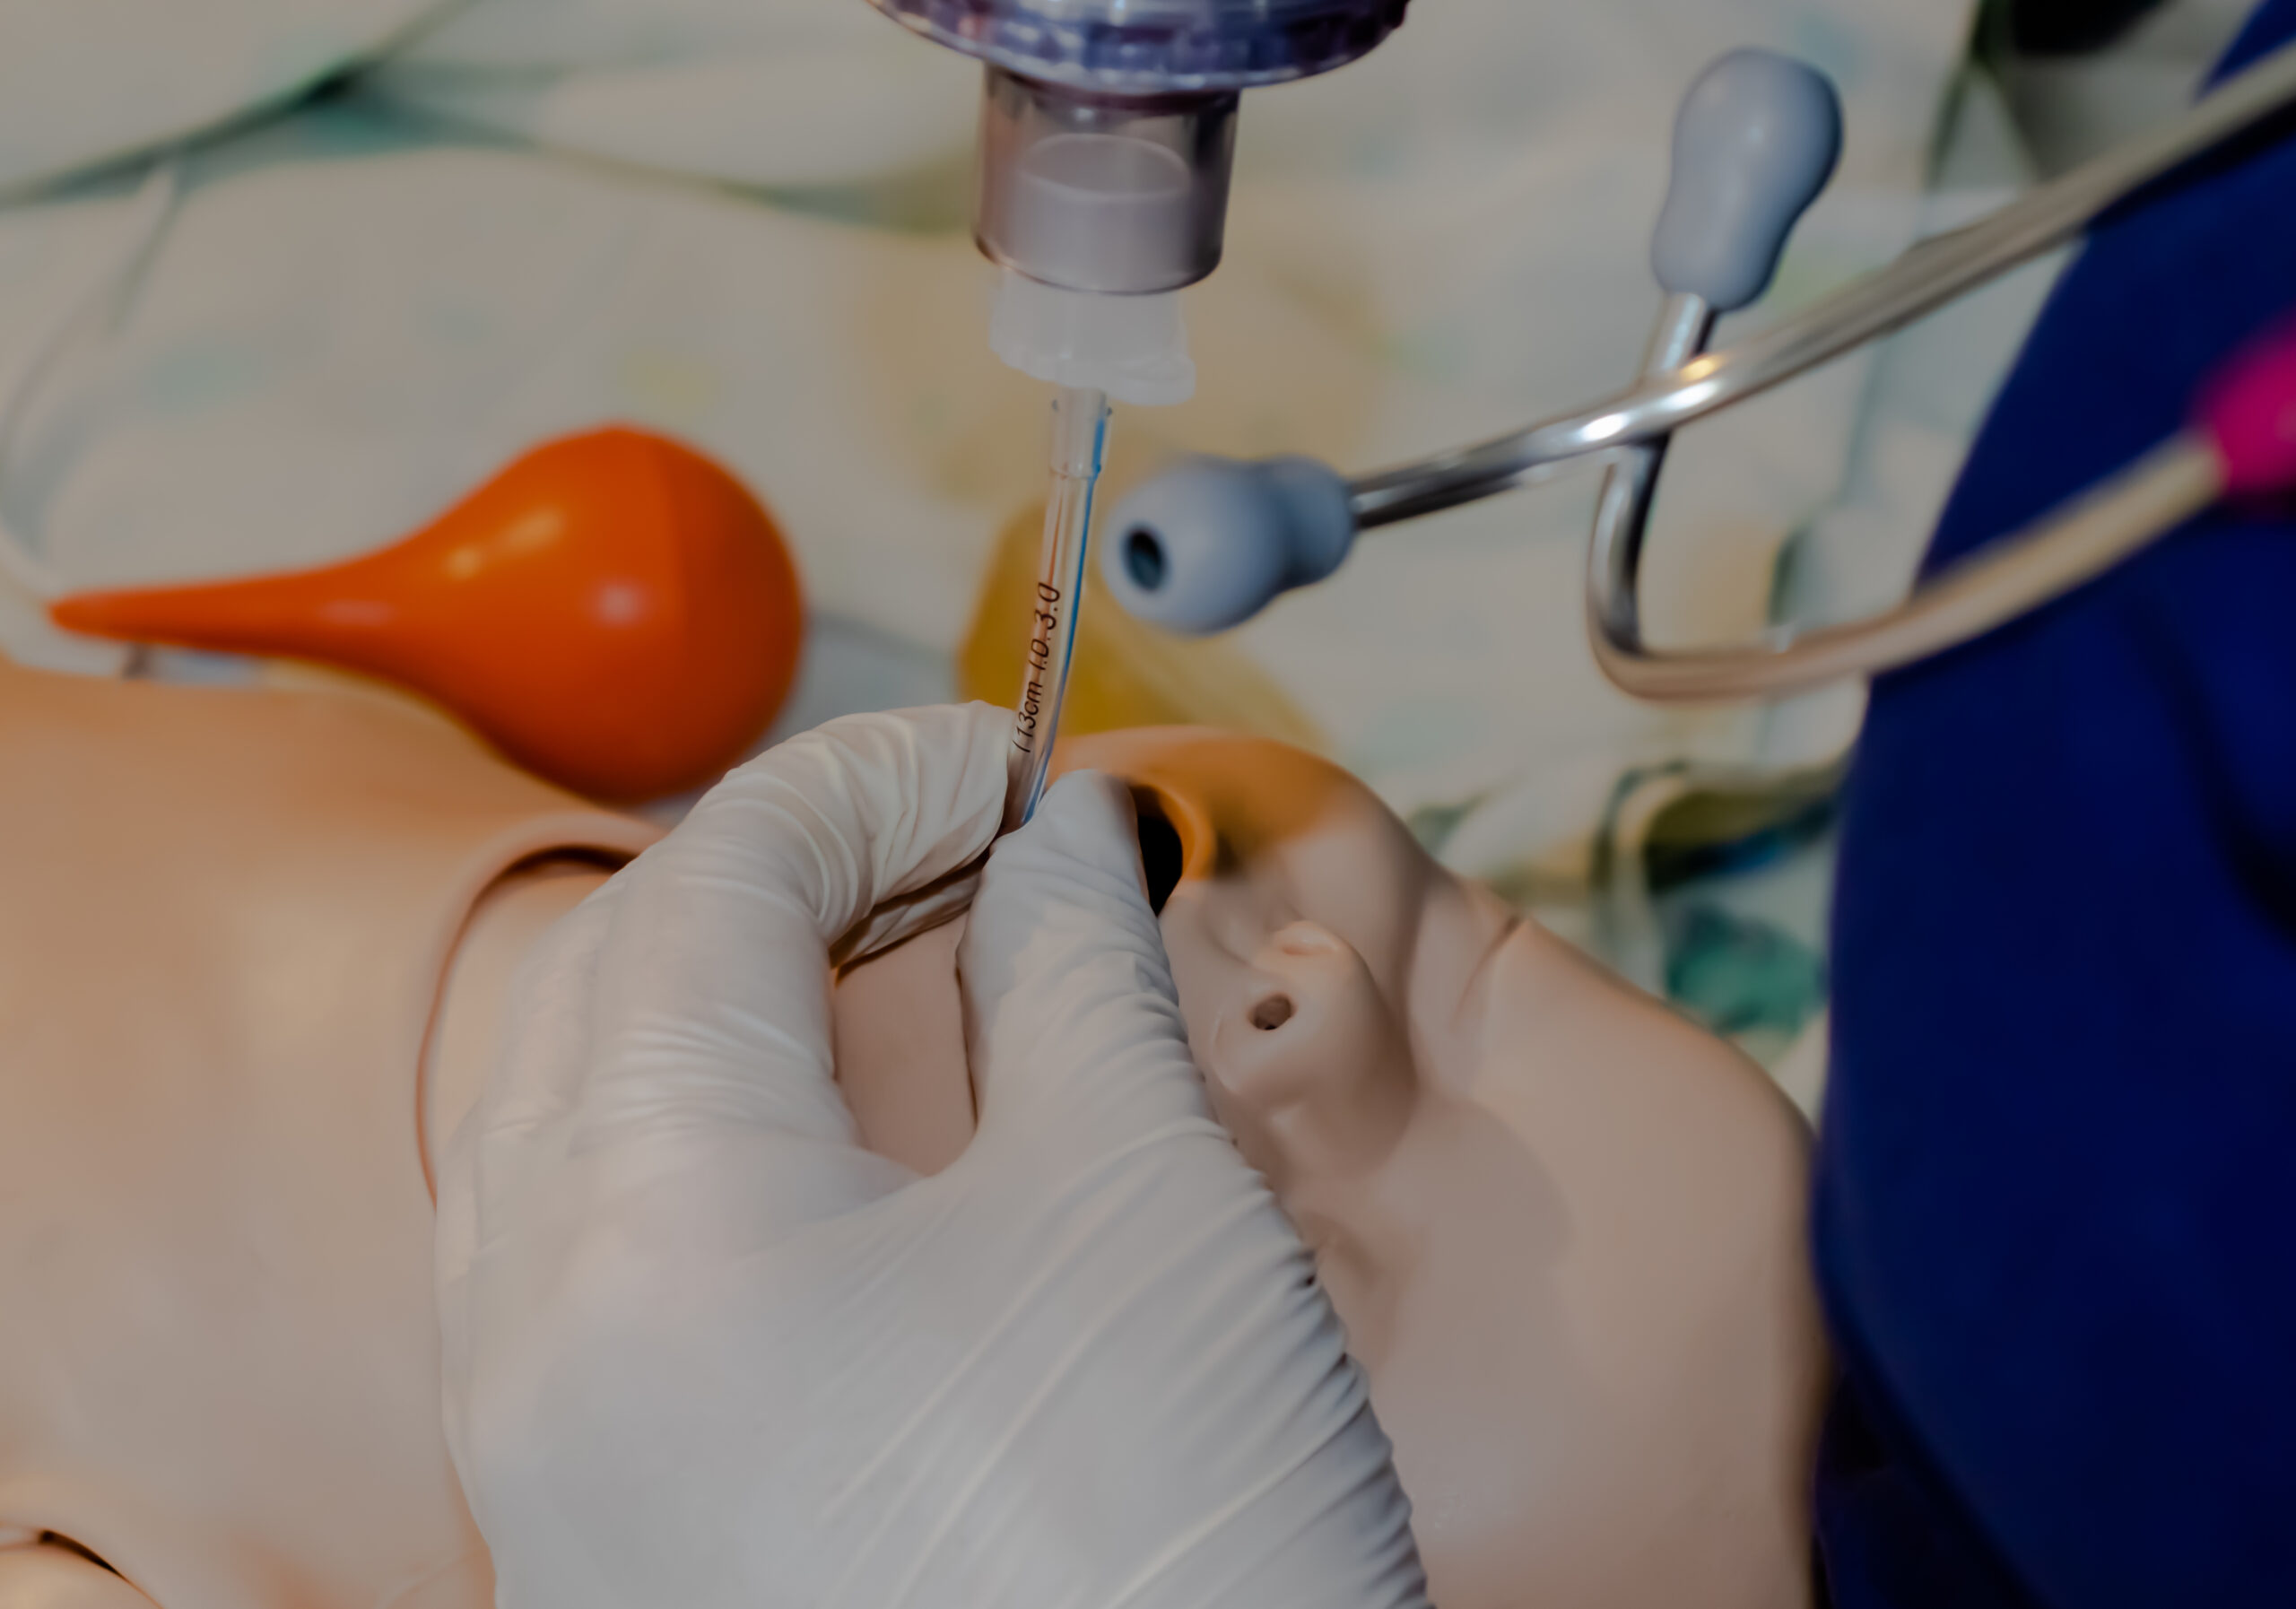
- The ET tube should be guided through the glottis and passed through the vocal cords when they open. The ET tube should be advanced until the vocal cord guide is at the level of the vocal cords.
- The team notes which centimeter marking on the ET tube aligns with the baby’s lip.
- It is imperative that the person intubating wait for the vocal cords to open. The cords must not be forced open or pushed through. If the vocal cords do not open within 30 seconds, the intubation attempt should be aborted and reattempted after delivery of PPV via a mask.

Provider inserting the endotracheal tube.
- Once the ET tube is in place, the laryngoscope is gently removed. While removing the laryngoscope, the provider should secure the ET tube by pressing it against the baby’s palate or cheek with the right index finger.
- A team member removes the stylet carefully while the operator holds the ET tube in place.
- An assistant attaches a colorimetric ETCO2 detector between the ET tube and the PPV device and begins PPV. If the ETCO2 detector changes color from purple to yellow after 8–10 breaths, the tube is likely in the trachea.
- A team member auscultates the baby’s lungs to ensure equal breath sounds on the left and right. The axillary area is a good site for auscultation to avoid hearing breath sounds transmitted from the esophagus or stomach.
- After confirming that the ET tube is in place, the team uses waterproof adhesive tape or a securement device to hold it in place.
Key Takeaway
Indications that the ET tube is in the trachea:
- Colorimetric ETCO2 detector changes color from purple to yellow
- HR improves
- Equal breath sounds
- Symmetrical chest movement
- No air leak from the mouth during PPV
- No air entry into the stomach

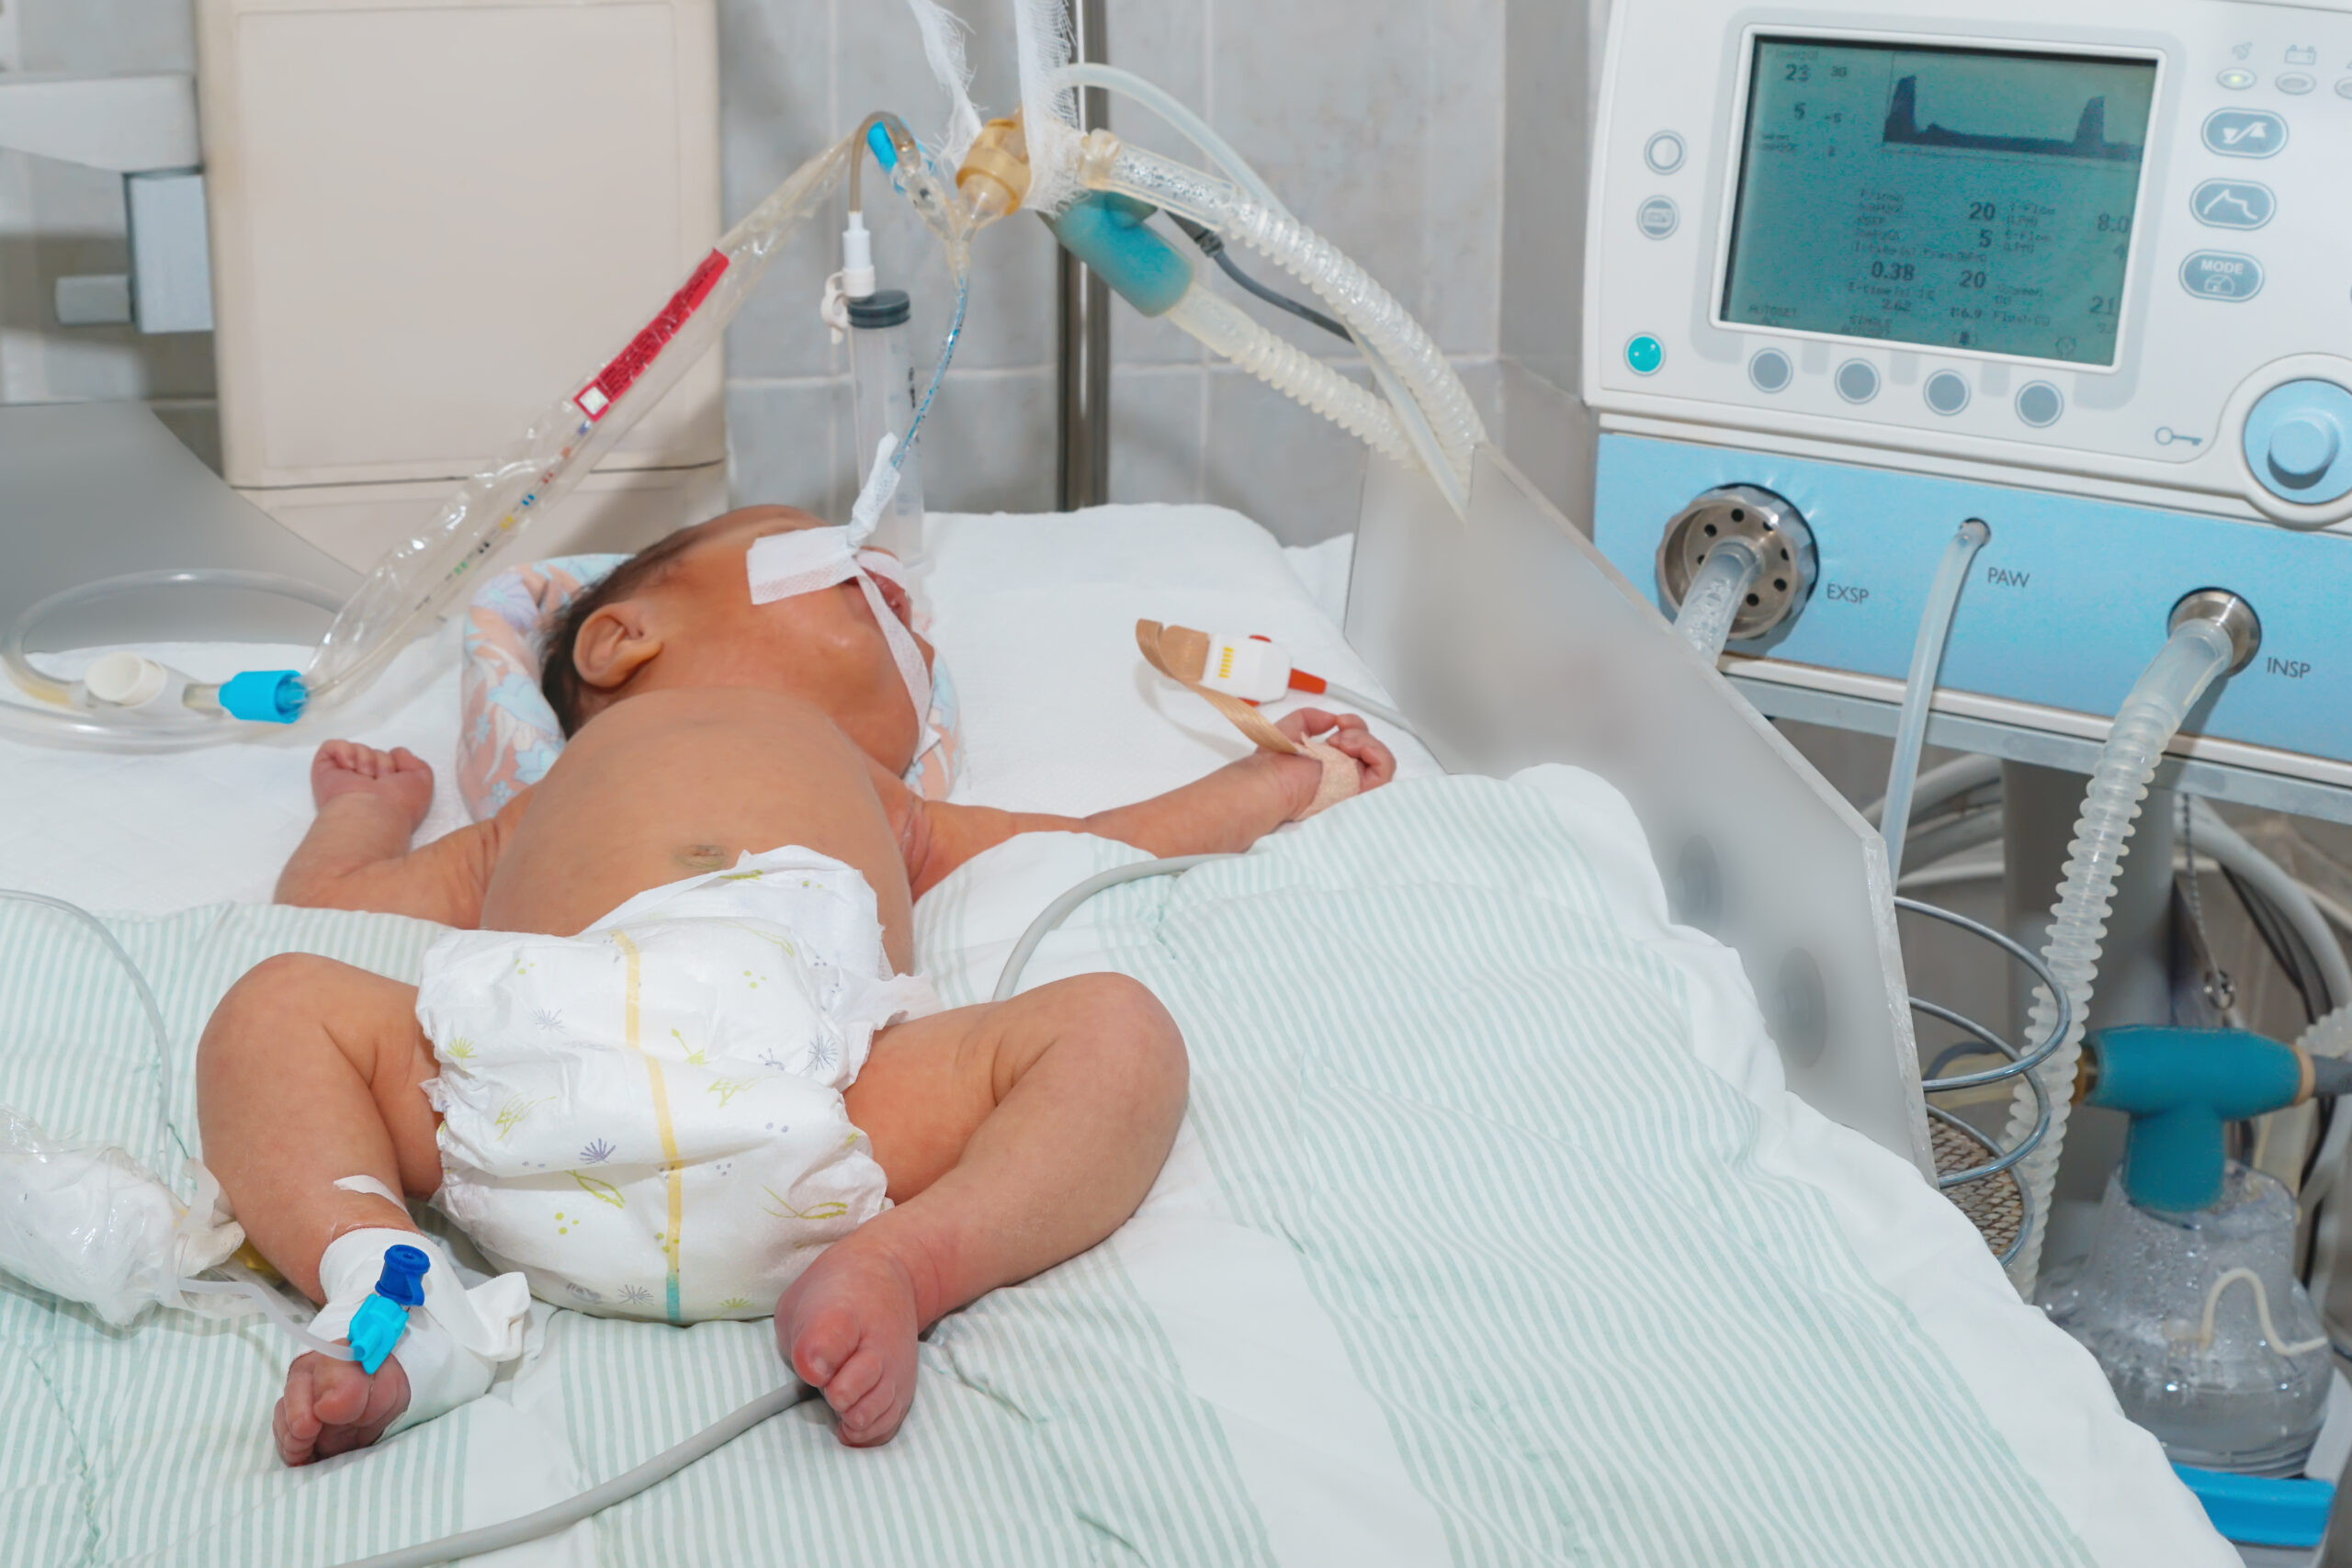
An infant with an endotracheal tube secured in place.
All steps of intubation must be performed within 30 seconds. If the baby’s vital signs worsen while performing endotracheal intubation, the procedure should be aborted, and PPV with a mask immediately resumed. Once the baby’s vital signs improve, the team can reattempt intubation.
Too many intubation attempts can cause trauma to the baby’s airway. If needed, the team leader can consult with an experienced provider or choose a different airway option, such as a laryngeal mask. PPV via bag-mask is a valid option any time the team has difficulty placing an advanced airway.
Endotracheal Tube Not in Place
After the laryngoscope is removed from the baby’s mouth, the team immediately attempts to verify proper placement of the ET tube in the trachea. If the team determines that it is not in the trachea, they remove the ET tube and resume bag-mask PPV. The team may also consult another experienced healthcare provider, such as a neonatologist or anesthesiologist.
At times, the lungs cannot exhale an adequate amount of CO2 for the ETCO2 detector to change color. This failure to change color commonly occurs when cardiac output is poor. In this case, the team may conclude from other indicators that ET intubation was successful. The provider may also choose to reinsert the laryngoscope and visually verify that the tube is sitting between the vocal cords.
Related Video – OQQ: How do you Correct a right mainstem intubation?
Endotracheal Intubation Depth
The tip of the well-placed ET tube sits in the middle of the trachea, approximately 1–2 centimeters below the vocal cords. The endotracheal tube insertion depth can be estimated by measuring the nasal-tragus length (NTL) and then adding 1 centimeter.
NTL is determined by measuring the distance between the baby’s nasal septum and the tragus of the ear. For example, a baby with a nasal-tragus length of 5 cm likely requires an intubation depth of 6 centimeters. The ET tube should be positioned so that the 6 cm mark is at the baby’s lips.
Related Video – OQQ: How do you calculate ET tube depth
Another method of estimating optimal ET tube depth uses the baby’s gestational age in weeks or birth weight in grams.
 After using either method, it is prudent to check correct placement of the tube by auscultation and using the ETCO2 detector.
8 Weingart S, Ghagwan SD. A novel set-up to allow suctioning during direct endotracheal and fiberoptic intubation. EMCrit RACC website. Accessed and image retrieved March 26, 2021.